SoftRIP Computer Transfer SoftRIP Computer Transfer
This page explains how to manually copy settings from one SoftRIP installation to another, or between two computers.
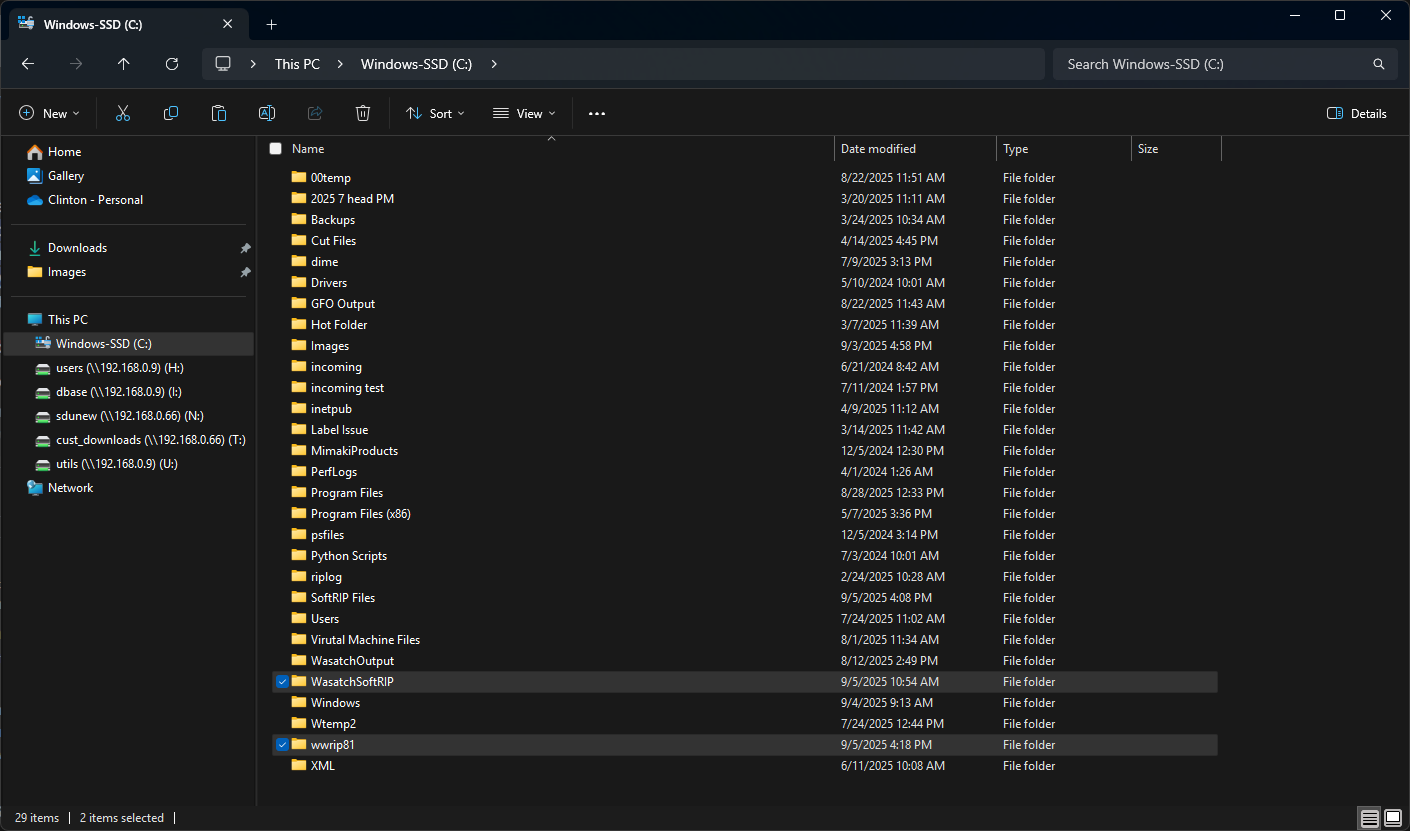
You'll want to first identify your SoftRIP installation. This should be located on the base of your (C:) drive in either a wwrip80/81 or WasatchSoftRIP folder.
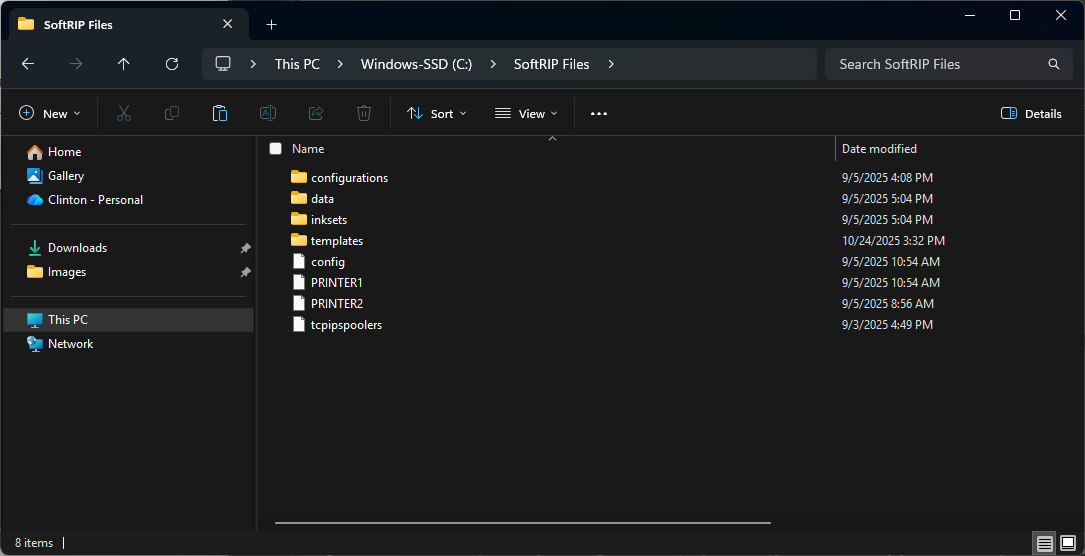
You'll need to locate and copy the below files to be transferred to the new installation/PC. We'd recommend placing all of these files into their own folder prior to transferring.
On the new computer, download the latest version of SoftRIP from our website. Proceeding through the installer should download the application to a WasatchSoftRIP folder.

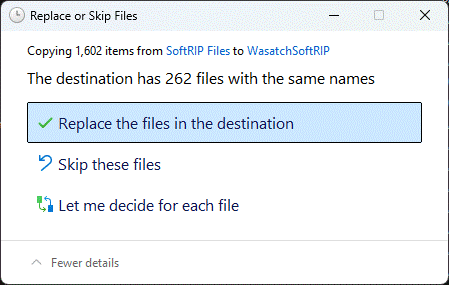
You can then bring all the previously copied files onto your new system/install. You'll want to drop all files into the base of the newest WasatchSoftRIP folder, being sure to choose to "Replace" any existing files. (If you did copy the "data" folder, you'll want to place that in WasatchSoftRIP\halftones)
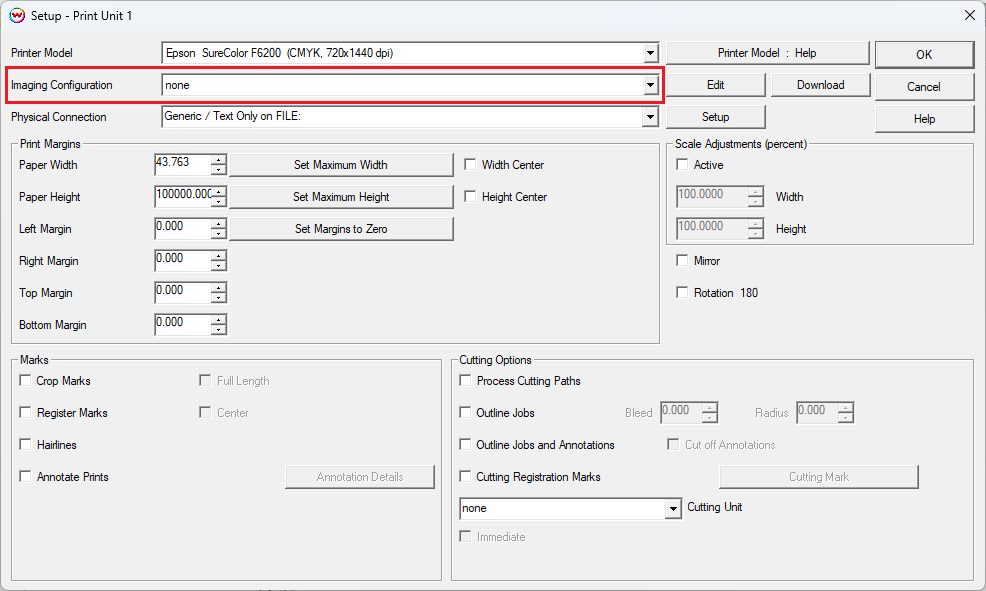
You can now launch your new SoftRIP installation, and should have access to all your previous settings. You'll want to confirm you have the correct Image Configuration selected by navigating to Print Setup(Blue Gears) and using the Image Configuration drop-down. If you run into any issues, feel free to reach out to the Support Team for further assistance.