CutPath with CorelDRAW Graphics Suite X7
The following technical note will walk you through creating a cut path in CorelDRAW Graphics Suite X7 to use within Wasatch SoftRIP.
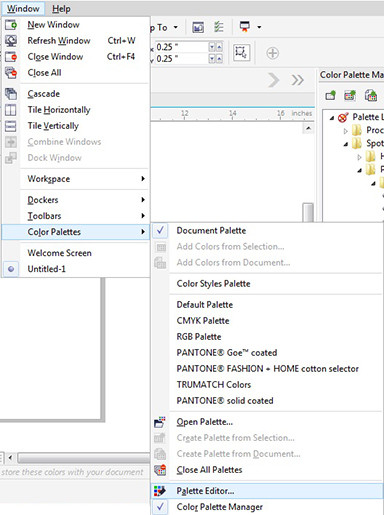
- Click on Window and select Color Palettes, and then Palette Editor.
- On the Palette Editor window, click New Palette and create a file name. You can use the default name cutpath or choose your own custom cut color name (e.g.
mycut). Click Save.
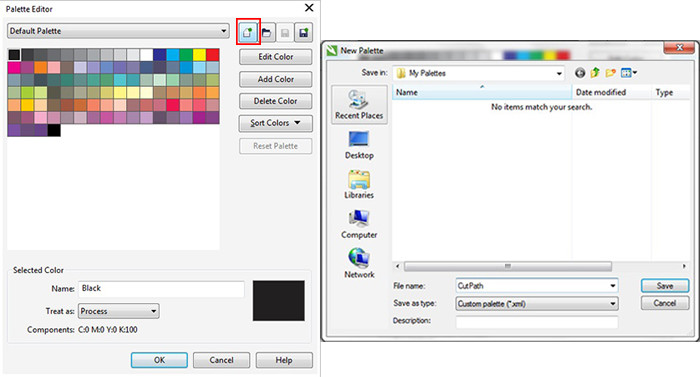
- In the Palette Editor window, click on Add Color.
- When the Select Color window opens, click on the Mixers tab.
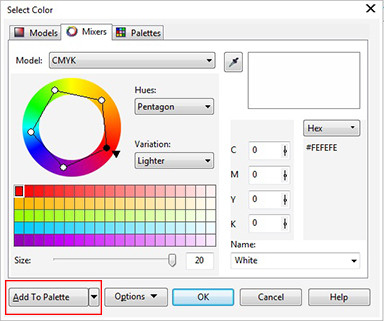
- Select any color you want from the color wheel.
- Click Add to Palette, then click OK.
- Change the name of the selected color to cutpath (or your custom cut color name). From the Treat as drop down menu, select Spot. Click OK to save the settings.
Note: For SoftRIP to recognize the cut path, the color name you choose (default cutpath or custom) must match exactly. The color type must be Spot. SoftRIP will not recognize a process color as a cut path.

- Next, create a boundary around your artwork. Select your artwork and click Object, then Shaping and Boundary.
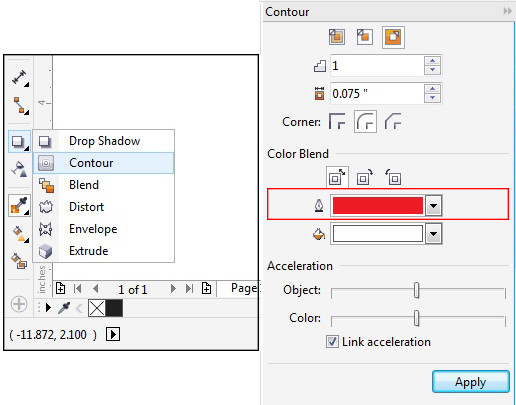
- Click the Contour tool to create a contour line around your artwork. The contour line color needs to be the cut path color you defined. Select the Outline Color drop down menu and click More. In the Color Select menu click the Palettes tab, then select the palette you just created.
- Select the cut path color name you defined (cutpath or your custom name). Click Apply to create a contour line in that color.
- Delete the boundary line by right‑clicking the artwork and selecting Break Apart. Click on the boundary line and delete.
- You have successfully created a contour cut path within CorelDRAW.
Setting up custom cut colors in SoftRIP
These settings will be used when setting up custom cut colors in SoftRIP. Each cut path defined by the cut colors created in your graphics application of choice will be treated as its own cut path. The cutter will pause between each color to allow for tool changes between cuts.
- Open SoftRIP and navigate to File > Preferences.
- Select the Cutting Colors tab to open the menu to manage your cut colors.
- Use the Add and Delete buttons to manage the available colors. Color names must be an exact match to the name specified in your graphics application.
- Click and drag color names to re-order them. SoftRIP will send the cut paths to the cutter in the order listed and will pause between each cut to allow for tool changes.