Fotoba Cutting Marks Fotoba Cutting Marks
To use the Fotoba marks in Wasatch SoftRIP, an additional registration code is required. Please contact Wasatch Computer Technology.
Fotoba cutting marks are unique from other cutting methods because SoftRIP does not need to be connected to the cutter to specify the locations where the print will be cut.
This feature allows you to print special cutting marks which can be used with Fotoba's line of cutters.
To enable these marks, click on the Print menu followed by Setup, then check Cutting Registration Marks and select Fotoba from the list.
The following window will appear:
Choose the application that best describes the types of images you will be printing. This selection will determine the size of the mark:
|
*When Custom is selected, the size of the mark and the relation of the black mark to the white space can be adjusted. Minimum size is 4mm. Maximum size is 30mm. Values outside this range will not save.
NOTE: If the option for Print Vertical Cut Marks is unchecked, only the horizontal marks will be printed.
When Fotoba Cut Marks are enabled, SoftRIP will check to see if the width of the Nesting gap is sufficient (the Gap control is located in the Unit Options tab), and if not, display the following warning message:
If you click yes, the nesting gap will be reset to the minimum allowable size in which a mark will be printed. If a gap less than the width of the cut mark is selected, the Fotoba marks will not be printed.
NOTE: The Fotoba Marks preview on the SoftRIP Layout tab is meant to give you a general idea of where the marks will be placed and is not precise.
One Double Mark Method (Not Recommended for Accuracy)
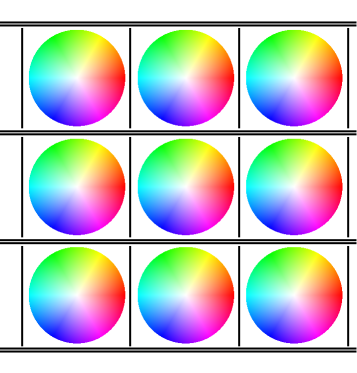
When you print cut marks as part of a Layout or in Single Row Nesting, you will need to specify a gap such that the cut marks can be printed between the images. When a minimum gap is specified, a sample output is shown below.
Although it is possible to print marks with a single cut mark between images, this is less accurate, especially on the vertical axis. The space between the images is variable dependent on your printer's resolution and the accuracy of the placement of images on the printer's output pixel map, affecting the accuracy of the print marks.
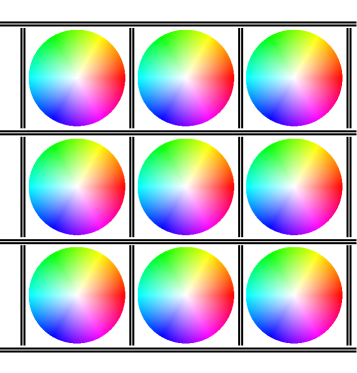
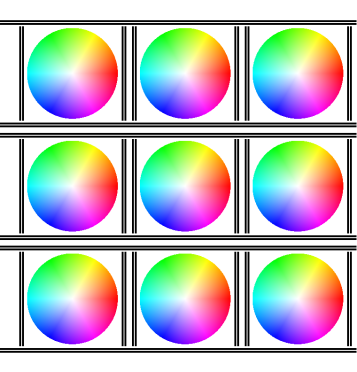
Two Double Marks Method
A more accurate way (which we recommend) is to set the nesting gap to at least twice the width of a single mark, so that two cut marks are printed between each image. This allows for the most accurate placement of the marks relative to each image. A sample is below.
Auto Double Marks Method
If the Mark Type is set to Auto then the gap amount will determine if one mark or if two marks will be printed between the images. With the gap amount set to the minimum value only one mark will be printed. However, two marks will be printed if the gap is set large enough.
One Single Mark Method (vertical option only)
The ability to print a single vertical mark is also available. This will reduce the gap amount needed between images.