 i-cut Cutters
April 5, 2010
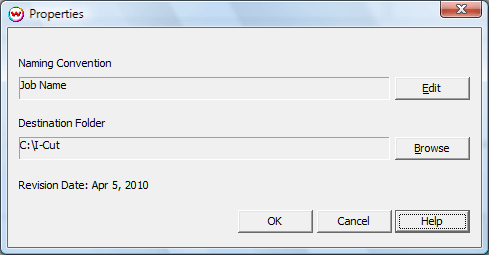
Pressing the Properties button next to the Printer Model window on the
Imaging Configurations screen will launch a control panel for this printer.

- Naming Convention: Allows a custom name to be created using Job Name, Index (Print Queue index), Date, and Time.
- Destination Folder: Location to write output file.
Note: Selecting the i-cut Cutting Marks, or the i-cut Interval Cutting Marks, you will be prompted whether or not you would like barcodes to be printed along with the cutting registration marks. Selecting this will place the proper registration marks on the print, in addition to barcodes printed with their appropriate file index numbers for use with the optional i-cut optical scanner. The file index will appear different when using barcodes so it matches the contents of the barcode.
 i-cut Cutters
 i-cut Cutters