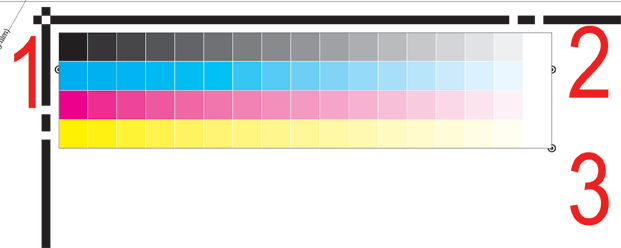
Prior to using the Barbieri Spectro LFP Series 3 interface, you must print out the barbierispectrolfp_4color.PS file, located in the psfiles folder at the root of the drive where Wasatch SoftRIP is installed. (Use barbierispectrolfp_5color.PS for a 5 color device, etc.) barbierispectrolfp_1color.PS is for use with monochrome print modes. These are the only test patterns that will work with this interface.
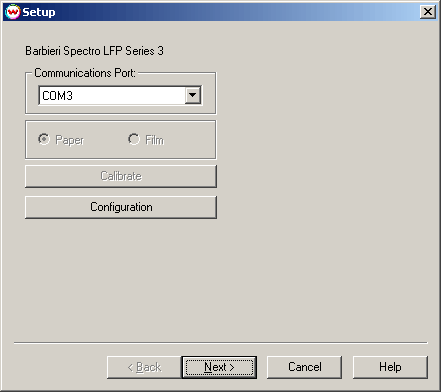
After clicking on the Barbieri Spectro LFP Series 3 option from the Densitometers menu, the following window will be displayed:

Choose the Communications Port the Barbieri LFP Series 3 is connected to. If the default selection does not work, try selecting a different port.
Configuration is detailed below.
To scan the target, Click Next.
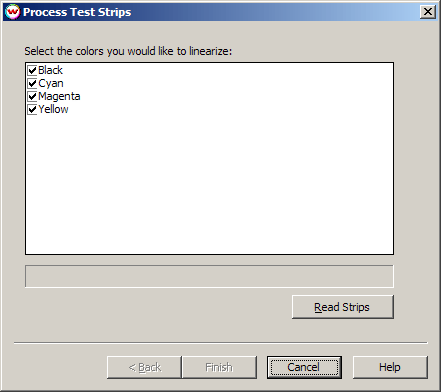
This Process Test Strips screen begins the strip reading process. Select the colors to be linearized (if you uncheck a strip, the device still must read the entire target, but the data from that strip will be discarded). To begin reading the strips, click on the Read Strips button. The device will attempt to automatically find the registration marks and start the strip reading process.
If the device is unable to automatically find the registration marks, you will be prompted to use manual positioning, which is detailed below.
After the densitometer has returned the strip values, you will see the message "Complete". Click on the Finish button to generate the curves.
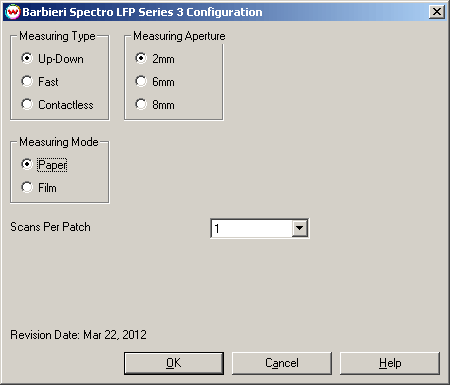
Once the desired settings are selected, Click OK to save.
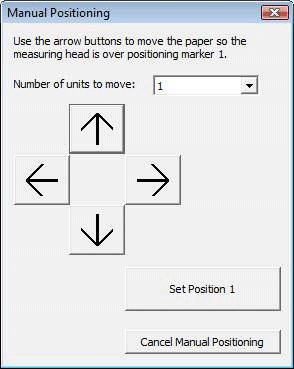
If the device fails to automatically detect the registration marks you will be prompted to use manual positioning. Use the arrow buttons to move the paper so that measuring head is over the 1st manual positioning marker on the target. Press the "Set Position 1" button. Repeat for the other 2 manual positioning markers. When the 3 markers are scanned the srip reading process will continue.
