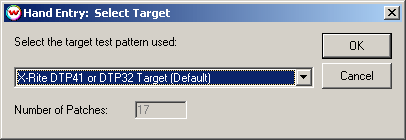
The Hand Entry window is designed to allow you to manually enter numeric densitometry in conjuction with densitometers and/or targets that are not directly supported by Wasatch SoftRIP.
If you have a color print mode selected:
After you click on the Hand Entry of Densitometry selection from the Densitometers drop down menu on the Calibration screen, the following screen will appear:

This allows you to select various linearization targets. The default is the X-Rite DTP41/DTP32.ps target with 17 steps. If the linearization target you want to use is not present, you can select Generic (Flexible) Target, which allows you to enter the number of patches to enter.
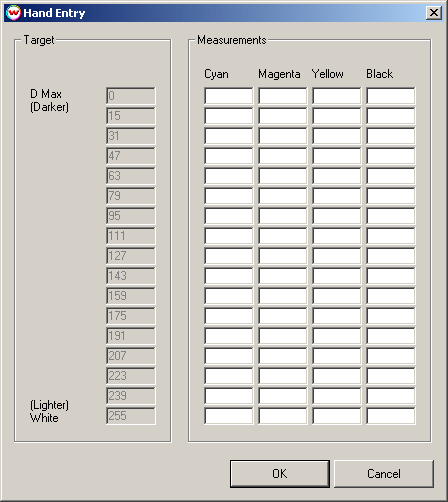
After you click OK, the following screen appears:
If you have a Monochrome print mode selected:
After you click on the Hand Entry of Densitometry selection from the Densitometers drop down menu on the Calibration window, the following screen will appear:
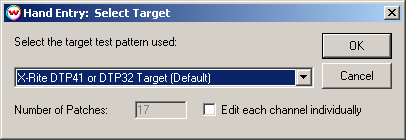
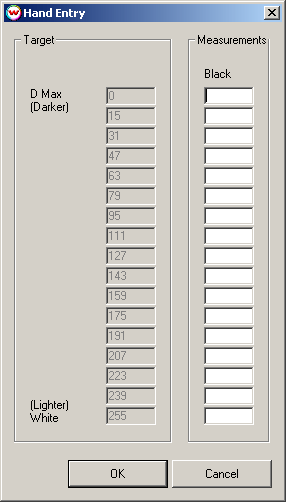
If you are creating film separations, you may want to linearize each channel individually to produce the best output. To do this, select Edit each channel individually. If Edit each channel individually is not selected, only the black channel appears on the next screen, and the linearization curve generated for that screen is copied automatically into each channel.
If you are using a Monochrome print mode and do have Edit each channel individually selected, the following screen will appear:

However, If you are using a Monochrome print mode and do not have Edit each channel individually selected, the following screen will appear:
Generic vs. Specific Targets:
If you selected anything but Generic (Flexible) Target, the numbers corresponding to each patch are automatically populated in the appropriate Target fields on the left side of the window.
If you selected Generic (Flexible) Target, the following screen will appear with the number of patches you selected on the first screen (In the example below, 17 points were selected on the first screen and a color print mode was selected):
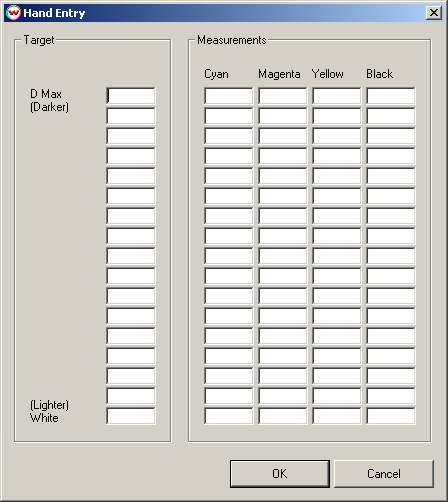
The 'Target' column is used to enter the values printed on your linearization target (these should correspond somehow to the percentage of ink at any given point on the target). These values should be in ascending order from 'Darker' to 'Lighter' or vice versa. For example, on the X-Rite DTP32 strip, the 'Darker' values are those that are closer to zero, and the 'Lighter' values are those closer to 255. The Cyan, Magenta, Yellow, and Black should contain your measured density values at your target value. Remember that you must enter at least three points to define a curve.
NOTE: The highest and lowest values in your 'Target' column will be used to define your 'D Max' and your 'White' point. This leaves the intermediate points to define the rest of your curve. You may enter as many (up to 48) or as few intermediate points as are needed to refine the curve. For most devices, five or six well-chosen points will be sufficient. You will not see the curve change dramatically with the addition of more data points. Recognizing this fact can be quite a labor-saver.
For more information on calibration, please see the online help topic Color Calibration.