June 26, 2014
Before you can use the i1Pro2 as a USB device, you will need to install the manufacturer's driver. Before you connect the i1Pro 2 for the first time, install the software on the CD that came with the i1Pro 2. After the software has been installed, connect the i1Pro 2. The i1Pro 2 is then ready for use with Wasatch SoftRIP.
For more information, consult the documentation provided by X-Rite.
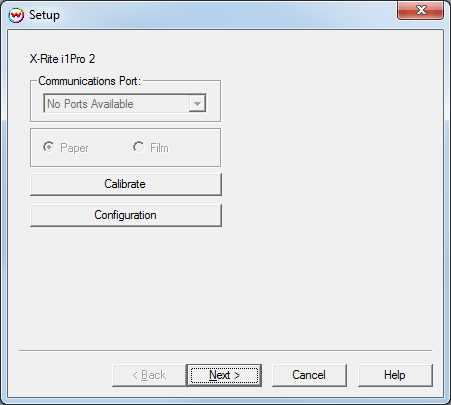
Click on Densitometers on the Calibration screen and choose X-Rite i1Pro 2. The following screen will be displayed:

See instructions below for each control.
Clicking on the Configuration button will launch the following screen:
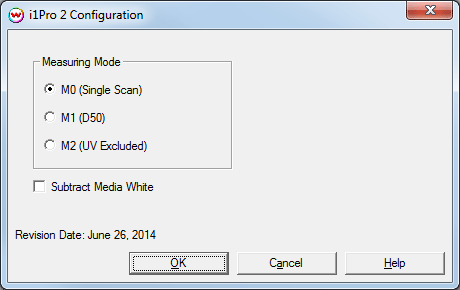
NOTE: M1 and M2 are 'dual scan' modes. The primary scan with a tungsten lamp is done as described below. After a successful primary scan, a second scan of the same channel in the opposite direction using a UV LED is required. The indicator lights on the top of the i1Pro 2 will illuminate violet in the direction of the secondary scan.
Calibration is required before scanning the target. Be sure to place the i1Pro 2 on the included white point reference before clicking the 'Calibrate' button. After you click on the 'Calibrate' button, the following message will be displayed:
'Place the i1Pro 2 on the white tile and press the button.'
Place the device on the calibration plate, make sure that the lens of the device is directly over the white point reference, and press and release the button on the side of the device. Make sure that the i1Pro 2 stays over the white point until the message, 'Calibration Complete', is displayed. Then click the 'Next' button.
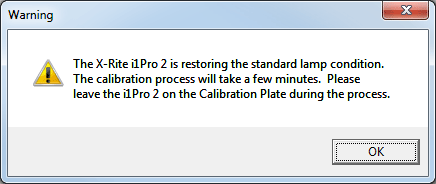
The tungsten lamp inside the i1Pro 2 can drift with time due to degradation, which can affect scanning results. If lamp drift occurs, the i1Pro 2 will detect this during the calibration process and will restore the lamp condition during the calibration process. Lamp restoration should rarely be required and if restoration is required, the screen below will be displayed during calibration.
After clicking on the 'Next' button after Calibration, the following screen will be displayed:
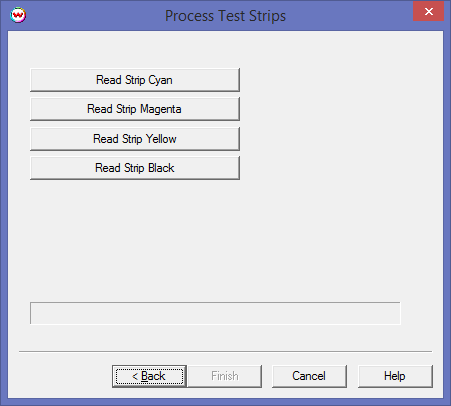
This interface is hard-wired to accept the 17 data points used in the file 'eyeone.ps' which is located in your 'X:\PSFILES' folder (X: being the letter of the drive on which Wasatch is installed). This is the only test pattern that will give you a correct result.
Before scanning each color channel, click on the appropriate button to enable the i1Pro 2. The message box will display:
Place instrument prior to first patch, press and hold the button.

Proper placement of i1Pro 2 on target
Place the instrument in the whitespace before the first patch (red-circled area above), and then press and hold the button on the side of the device. The message box will then display:
Wait for 2-3 seconds (or until faint beep), then scan strip slowly.
After about 2-3 seconds, the computer will beep through the PC Speaker (the speaker inside the case of the computer, not externally connected speakers) when it is ready. Continue holding down the button, and drag the device slowly and smoothly across the patches (in the direction of the green arrow above) until it reaches the whitespace after the last patch. (Note that patch 255 on the 'dtp32.ps' file is white. Move the device past the last black bar.)
After the device reaches the whitespace after the last patch, release the button on the side of the device.
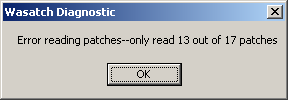
If the scan was successful, you will see the message Done appear next to the color that you selected. If it was unsuccessful, you will get the following window:
After any one strip has been read, the button labeled Next will change to Finish. You may select Finish after reading any number of the strips to apply curves for only colors that you have measured. Colors that you did not measure will not be overwritten should curves already exist.