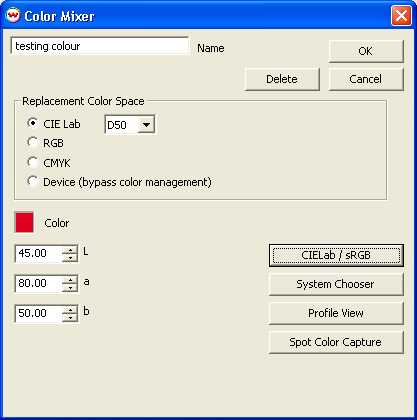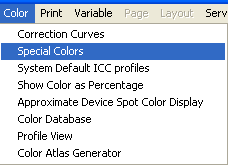
Illustration 1:
Launch Special Colors
Most users of Repeats have a related interest in the management of spot colors, such as those found in indexed Tiff files. Wasatch SoftRIP provides powerful tools that can be used for color correction and management, and even for production of multiple colorways right on the RIP. A Color Database feature is included which allows you to maintain your own "color kitchen" of dozens or hundreds of named colors.

Illustration 1:
Launch Special Colors
With an indexed color file open for preview, select Special Colors from the Color menu as shown in Illustration 1. This will launch the Special Colors screen shown in Illustration 2.
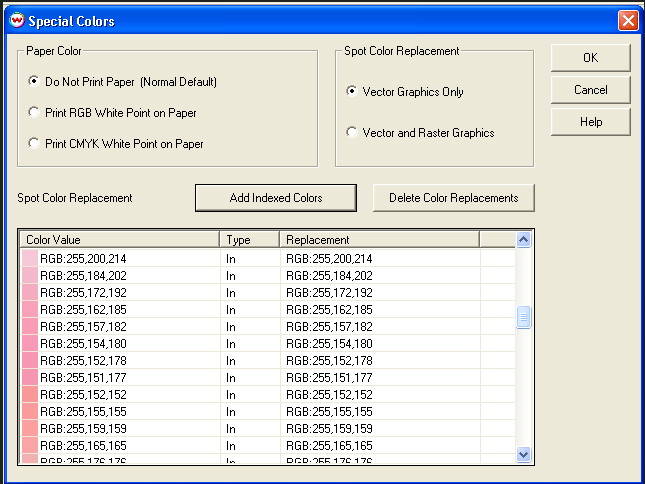
Illustration 2:
Special Colors screen
There will probably be no color in the Spot Color Replacement list. If there are some colors present, you can delete them by pressing the Delete Color Replacements button. If you press Add Indexed Colors, there will be a pause of a few moments, and then you will be asked if you wish to add the colors to the list. (If there are more than 100 distinct colors in your file, you'll get a message which states that the image is not suitable for use with this tool.) It is also possible to add a color to the list by clicking on the color preview window.
In order to work with the spot colors contained in an indexed Tiff file, first ensure that you've selected Vector and Raster Graphics in the Spot Color Replacement box as shown in Illustration 2. Then double-click on the color you wish to modify. This will launch the Spot Color Replacement screen as shown in Illustration 3. This screen allows you to specify a new color, in your choice of CIE Lab, RGB, CMYK, or Device color space.
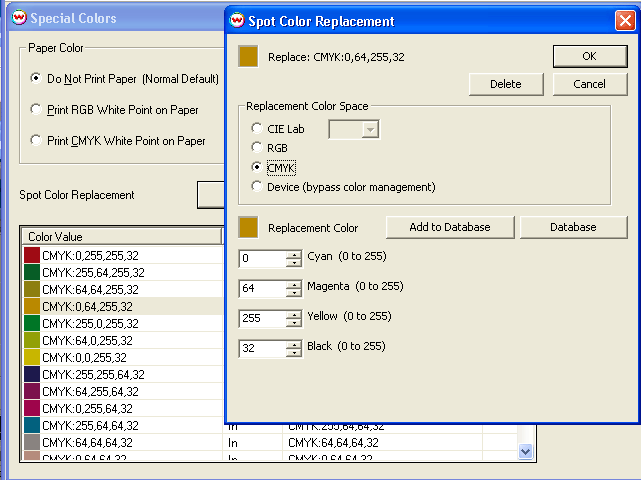
Illustration 3: Spot Color Replacement
Colors specified in either RGB or CMYK replacement color space will be substituted for the original color, and will be passed through all color correction curves, ICC profiles, and calibration curves that are in effect in the current Imaging Configuration. Lab color is a more accurate choice, as it is passed directly to your ICC output profile.
Colors specified in Device color space will be passed directly to the print heads, bypassing all color management. This is useful when you wish to print particular colors with special, pre-mixed inks.
The CIE Lab / sRGB button is visible when the replacement color space is RGB. Pressing this button launches the control shown in Illustration 4.
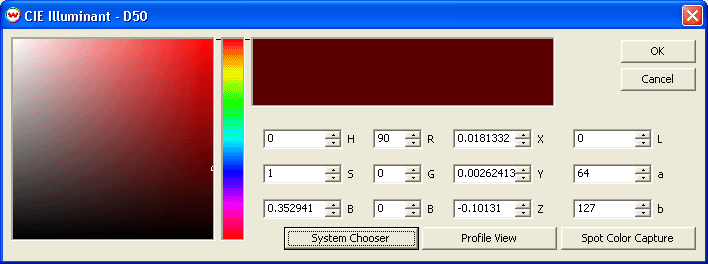
Illustration 4: CIE Illuminant Window
Information may be entered to any of the controls on this window, and colors may be selected by clicking and dragging on the Saturation/Brightness square on the left or the Hue bar. All controls will be continuously updated to match any change that is made.
The Database button on the Spot Color Replacement screen provides access to a collection of user-maintained lists of named colors (see Illustration 5), making it quick and easy to work from a predefined "color kitchen".
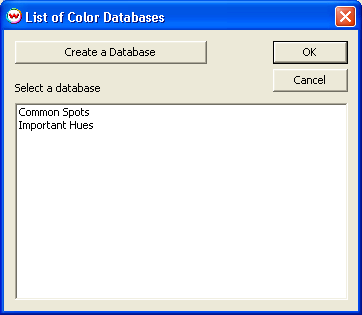
Illustration 5: Database listings
Selecting or creating a new database provides direct access to the list of colors. Select any entry to launch a color Database such as that shown in Illustration 6.
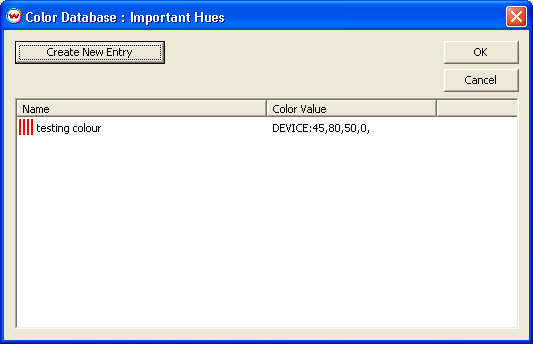
Illustration 6: Color Database
The color database window is also accessible from the Color menu on the main SoftRIP screen. When access from this menu, Entries can be created, edited, or deleted using the Color Mixer screen. This control is similar to the Color Replacement screen discussed above.
