Making PostScript Print Files with PPDs
This page includes information about setting up a printer to make a PostScript file.
Before installing PPDs, you will need to download them.
Download PPD's from the Wasatch Cloud
Contents
Making a Postscript File in Mac OS
Mac OS provides built in PostScript support for native Mac OS applications. This makes it very easy to set up PostScript files to transfer to Wasatch SoftRIP. This process requires that an LPD printer be created.
Creating a Mac LPR printer
- Copy the PPDs for MacOS into your \Users\Shared folder. You can download these .ppd files from the link above, but they must be placed in the \Users\Shared folder in order to use them in a future step.
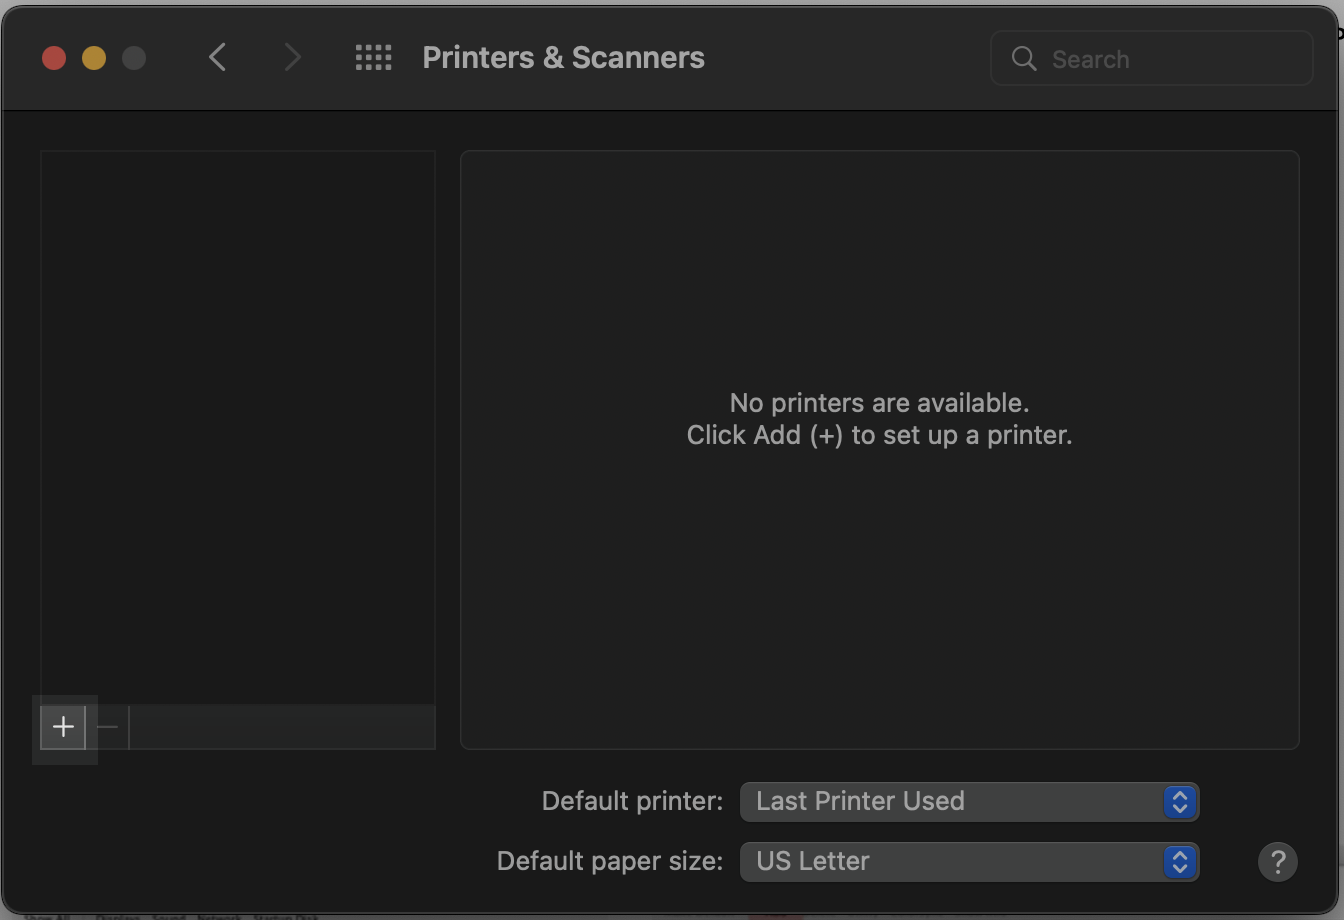
- Open your Mac OS system preferences, and click Printers & Scanners.

- Click the + icon to add a printer.
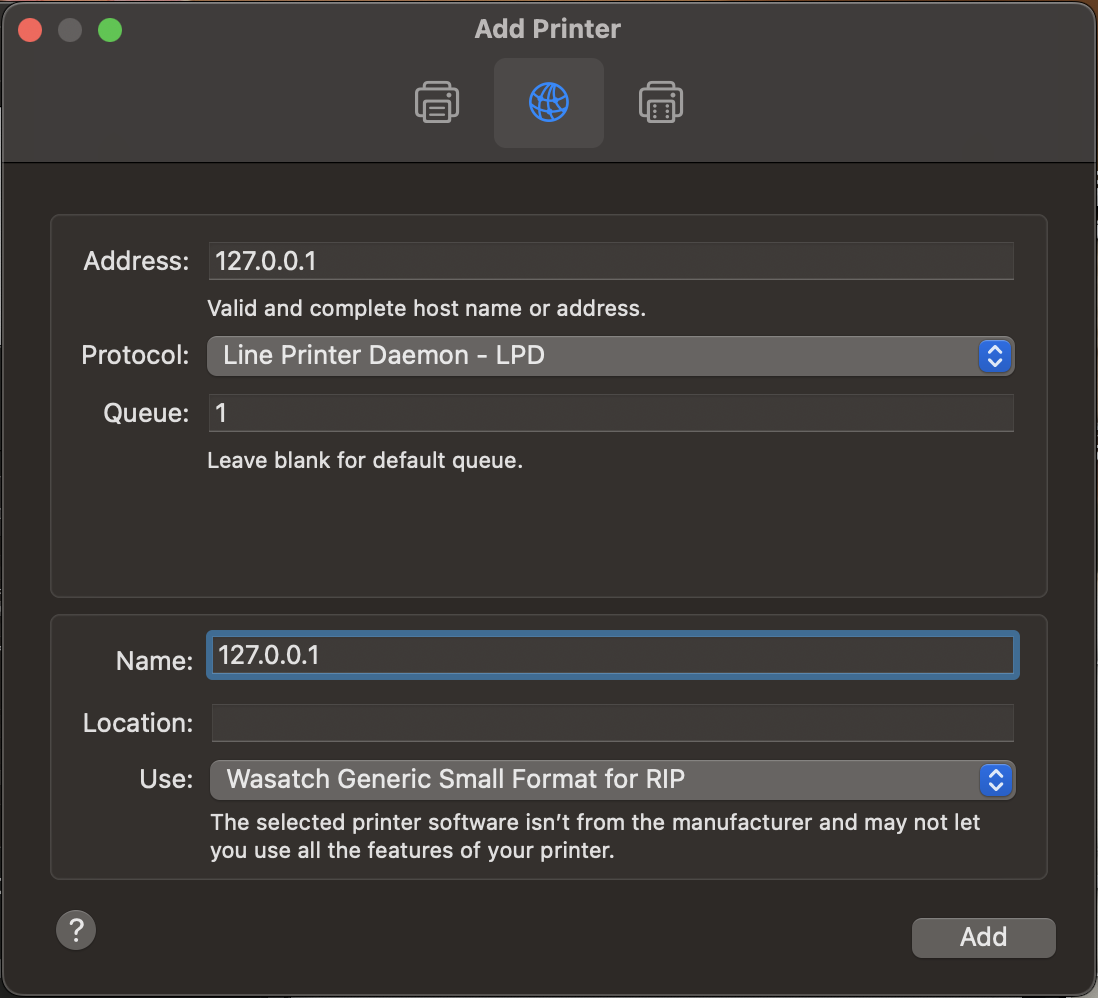
- Click the IP globe icon in the top center of the Add Printer window to open the network printer options. Choose LPD for protocol. For the Printer Address, use the IP address of your LPD server (usually a PC running Wasatch SoftRIP and Wasatch ImageNET). If your goal is simply to print to file, use the local loopback IP address of 127.0.0.1. Your Queue Name should be the Wasatch Print Unit number that your printer is set up with (i.e. unit 1-8 in SoftRIP). If you are planning only to print to file, you can leave your queue name blank. To set up the PPD for your printer, click the Use dropdown and select Other. Navigate to the \Users\Shared folder where you saved the wasatch ppd's in step 1 above to open it. Click Add when you are finished.
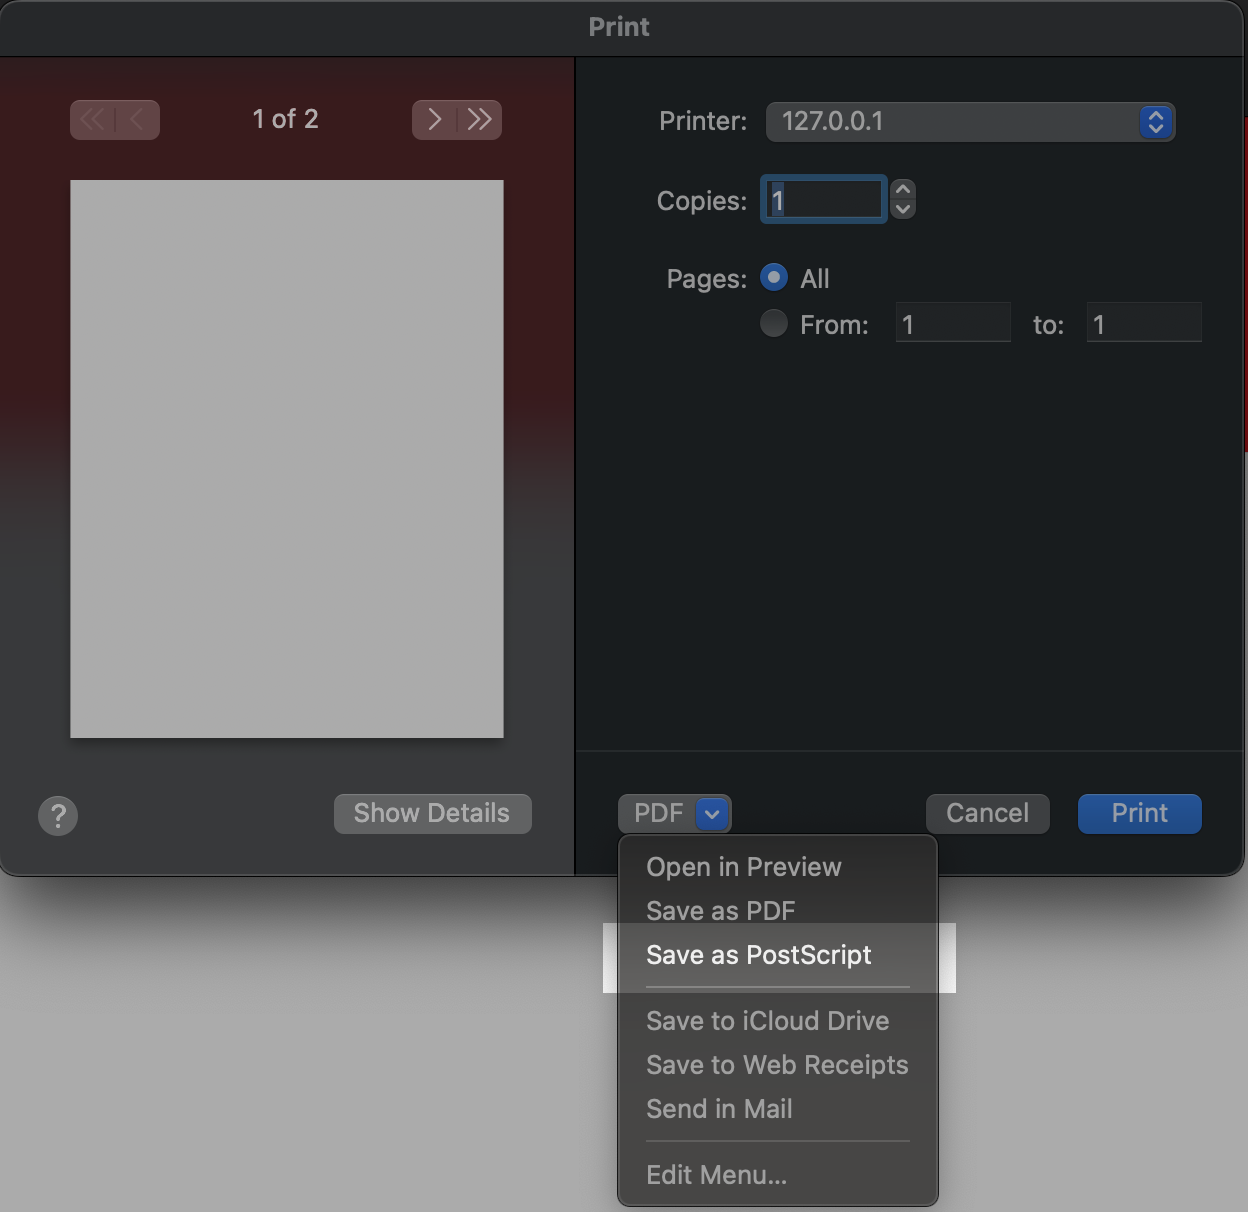
- You now have an LPD printer for use in other applications in their print menus. You will need to select the Save as Postscript option in the print menu. Please be aware that any printer using the IP address 127.0.0.1 will be unable to send data across a network.
Wasatch SoftRIP will now be able to process this postscript file.
[Return to Top]
Making a PostScript File in Windows 10/11
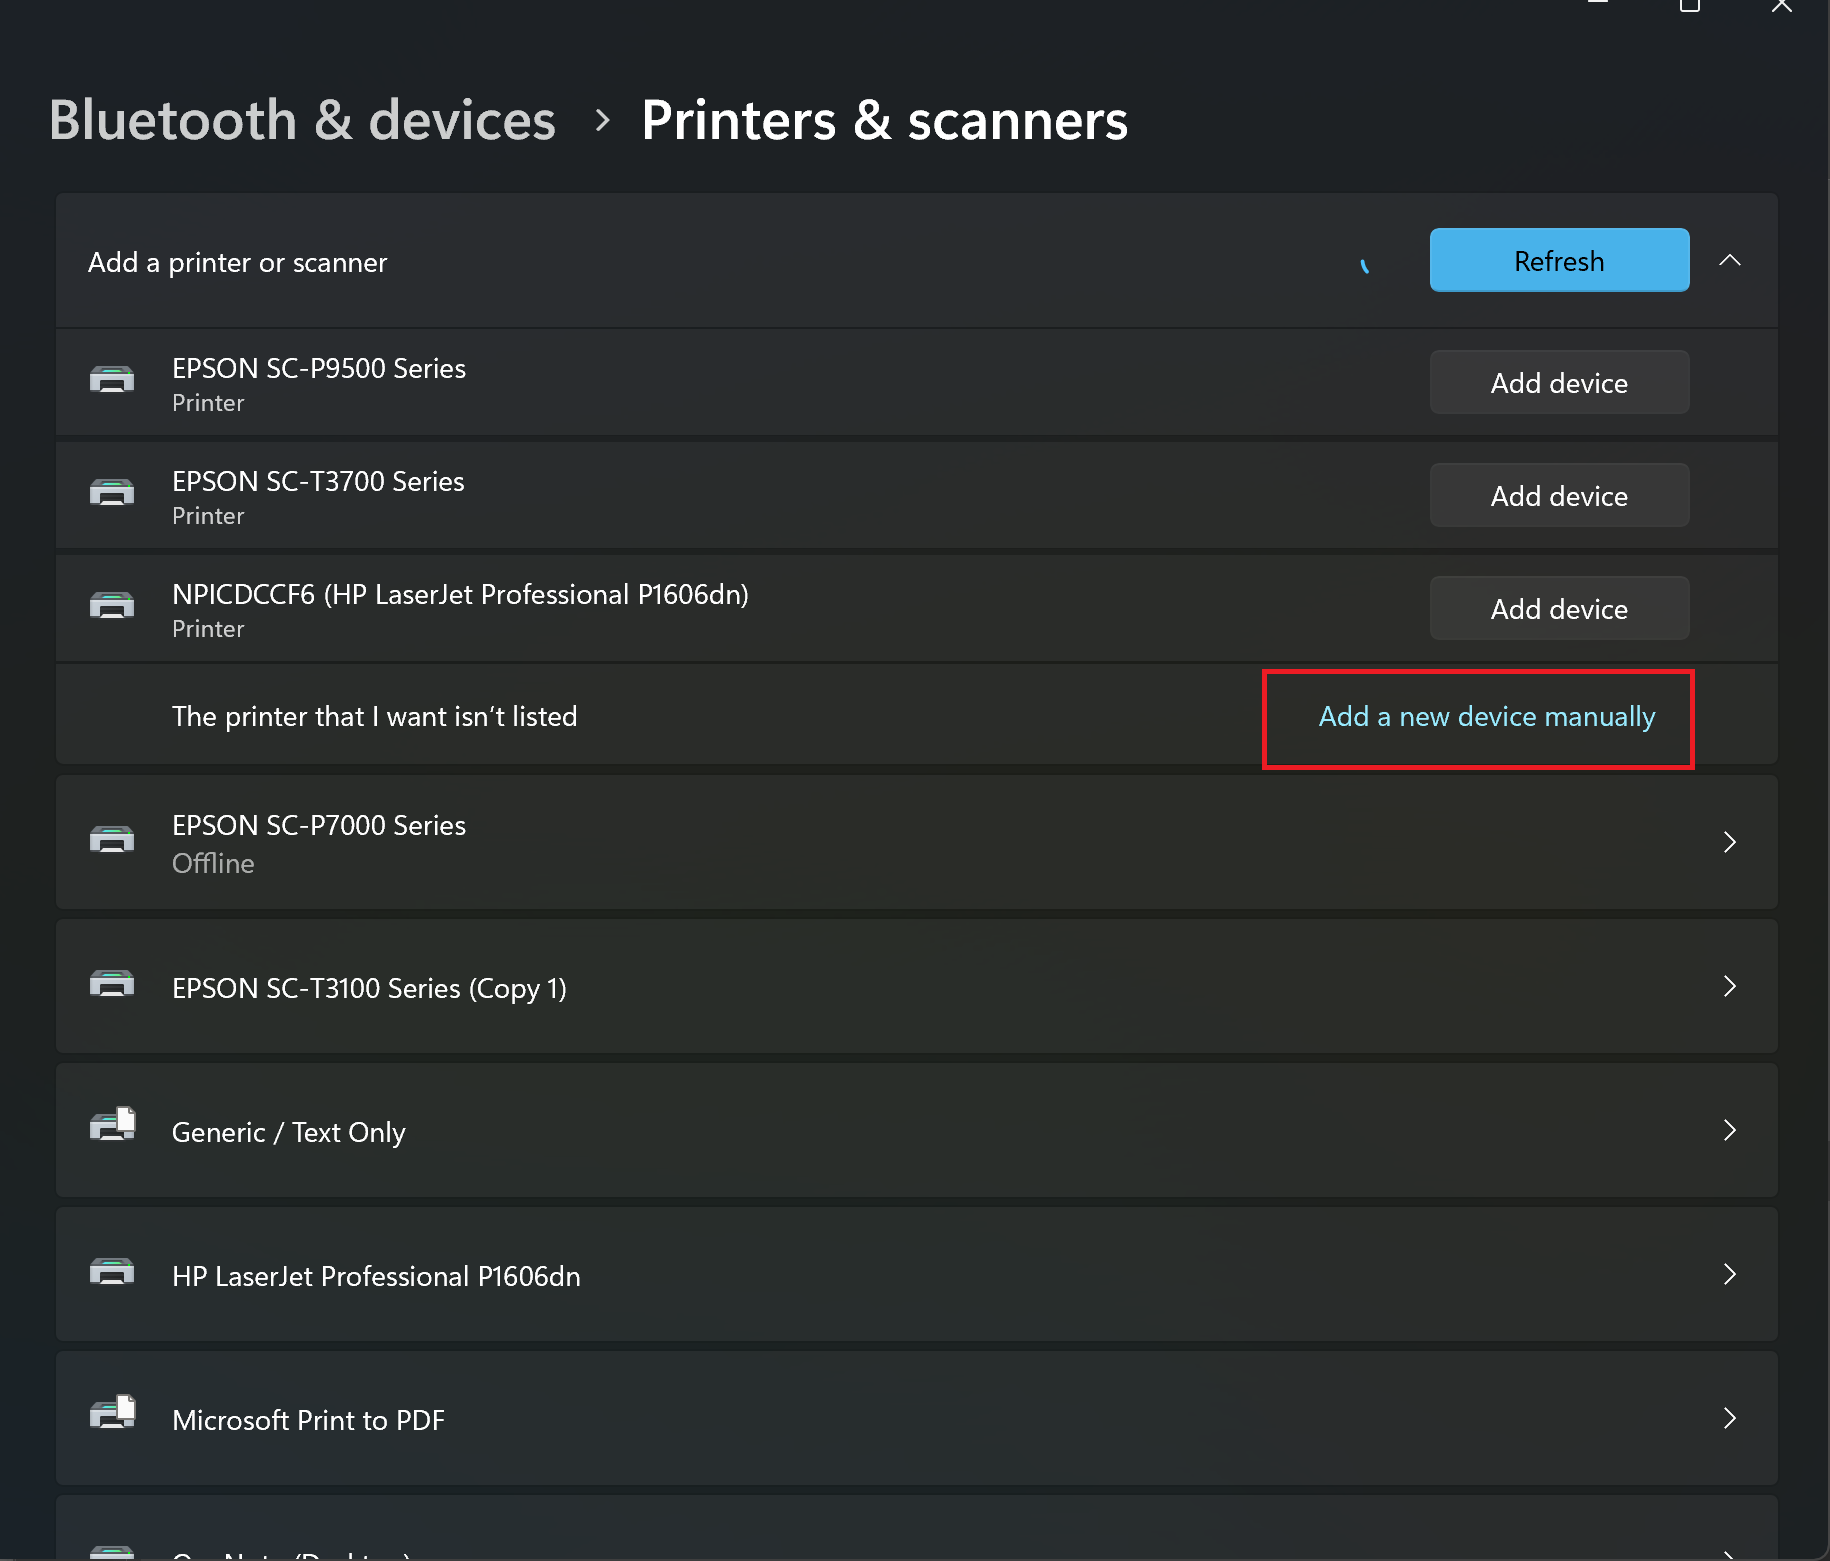
- Navigate to Settings > Bluetooth and Devices > Printers and Scanners and select Add Device.
- After an initial scan for printers on the network, select Add a new device manually
- On the add Printer Screen, select the option to add local/network printer manually.

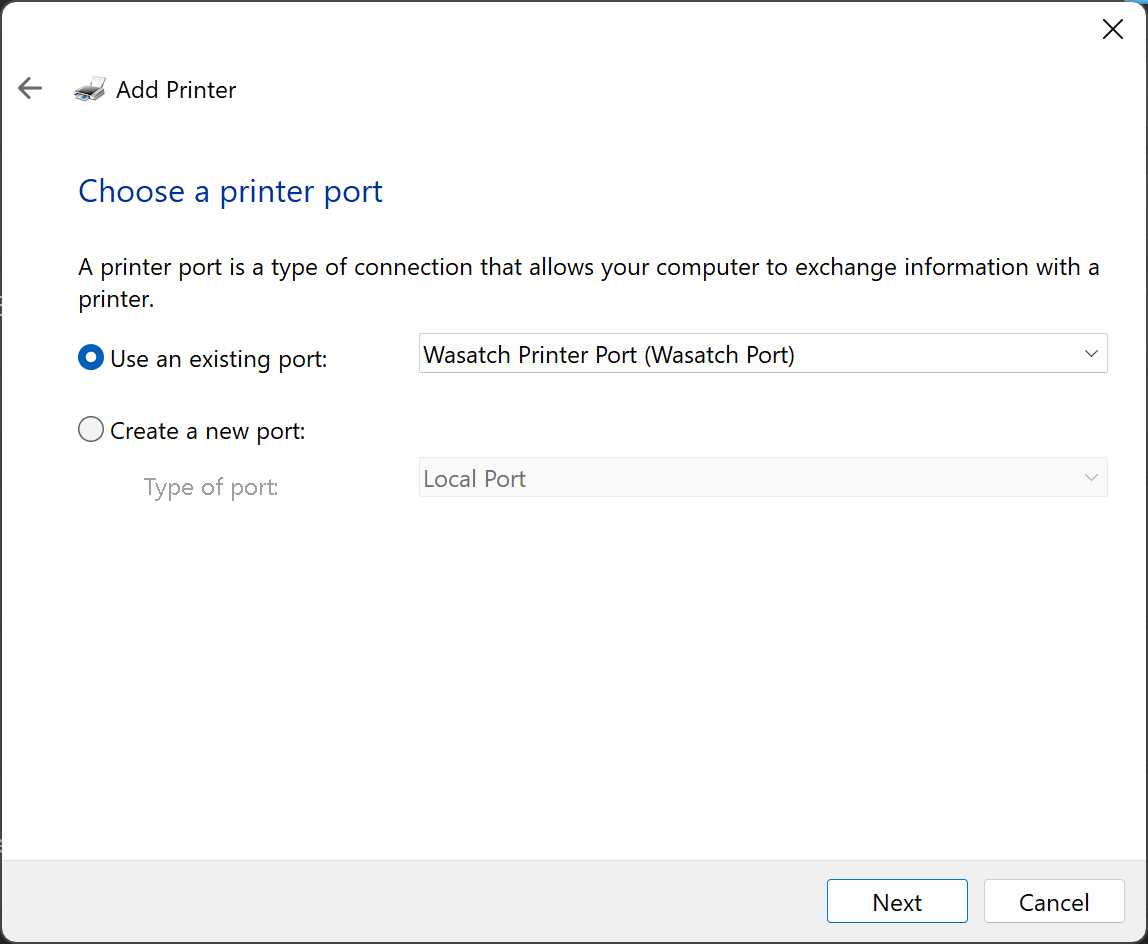
- Select an existing Printer port, choosing either FILE or your previously setup port from Port Redirector
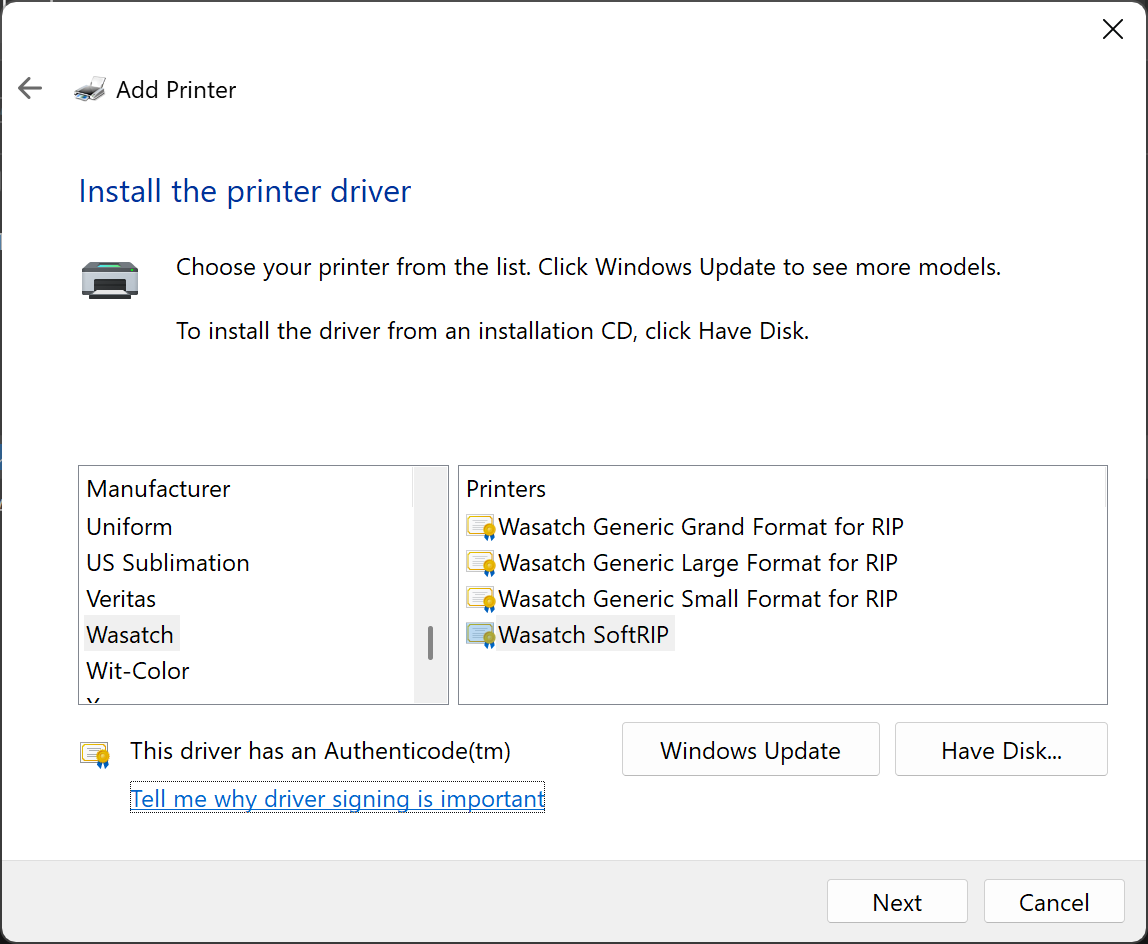
- Utilize Have Disk to select your Printer Driver. Selecting the .inf file from the Wasatch PPDs folder will populate Manufacturer options. If you don't see your specific model, you can use the Wasatch SoftRIP printer instead.
- Name the printer and choose Network sharing options. You can now access the new PPD as you would any other printer on a Windows platform.
[Return to Top]