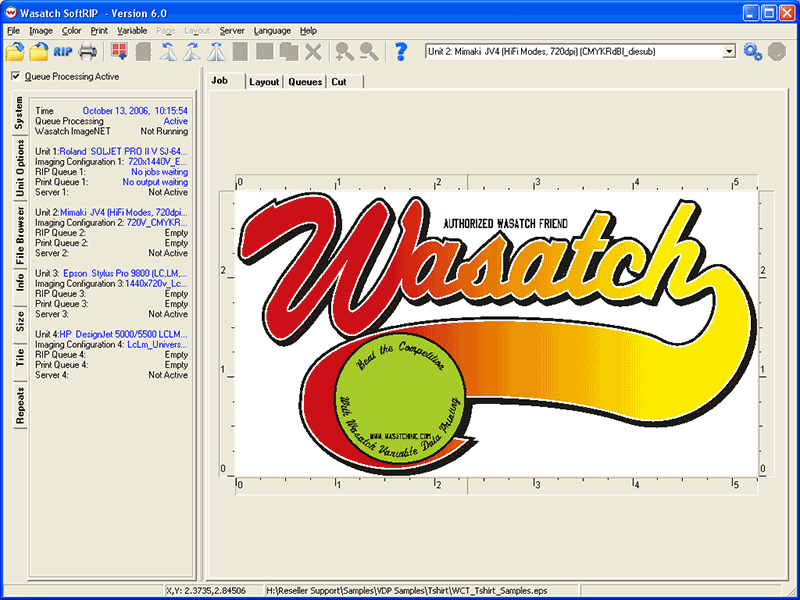
Figure 1: A sample background image
Version 2.2
August 18, 2016
IntroductionWasatch SoftRIP's Variable Data Printing Option is a fast and easy way to make custom prints automatically. It allows you to add data-specific text and graphics at print-time, so you can produce prints that are customized to individuals or a specific group. Variable Data jobs are created from a combination of text and images which are taken from records in a database.
Variable Data Printing is available as an optional plugin to Wasatch SoftRIP, at extra cost. You will need to obtain the 'VARIABLEDATA' special registration code before you can run Variable Data printing.
A Variable Data job is made up of 3 components: A background image, a database which controls the variable text and images, and a layout template. After you've completed manipulations of these components, Wasatch Variable Data Printing Option makes it easy to preview and save your work before RIPping and Printing your VDP job.
Before you start a Variable Data job, you will need to determine which parts of the final prints will be constant. You should create this constant part, which we'll call the background image, in any graphics application. After you have created this background image, open it in Wasatch SoftRIP. Select the correct imaging configuration for your printer and media, and make any changes (rotation, scale, crop, etc.) that are appropriate.

Figure 1: A sample background image
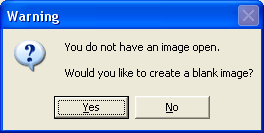
If you want the background image to be blank, do not open an image in SoftRIP. When you launch Variable Data Printing without an image open in the main screen you will be prompted for the size of your new blank image. Choose Yes on the following screen:
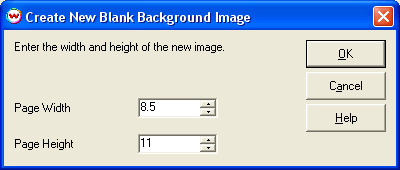
You can then enter a page size for your blank background image.
Creating, Importing, and Editing Databases
SoftRIP makes it easy to import data or create a database right in the RIP. Easy controls for modifying databases are also included.
Databases consist of fields and records. A field is a category of information in the database like Name, Address, or Phone Number. Records are a set of data that match the names of the fields, ie. John Doe, 123 Anywhere Street, 201-555-1212. The first line of your database should contain the names of the fields. (See Figure 4 below.)
All database work is completed from within the Variable Data Printing Tool. To launch the Variable Data Printing Window, select Variable on the main menu bar of Wasatch SoftRIP.
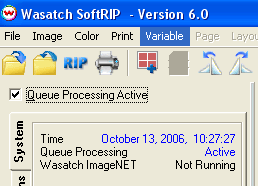
Figure 2: Location of Variable Data Printing in SoftRIP
After you launch Variable Data Printing, you will see the main window of Variable Data Printing. (Note: If you do not have a background image open in Wasatch SoftRIP, you will be prompted for a page size. See more about Background Images above).
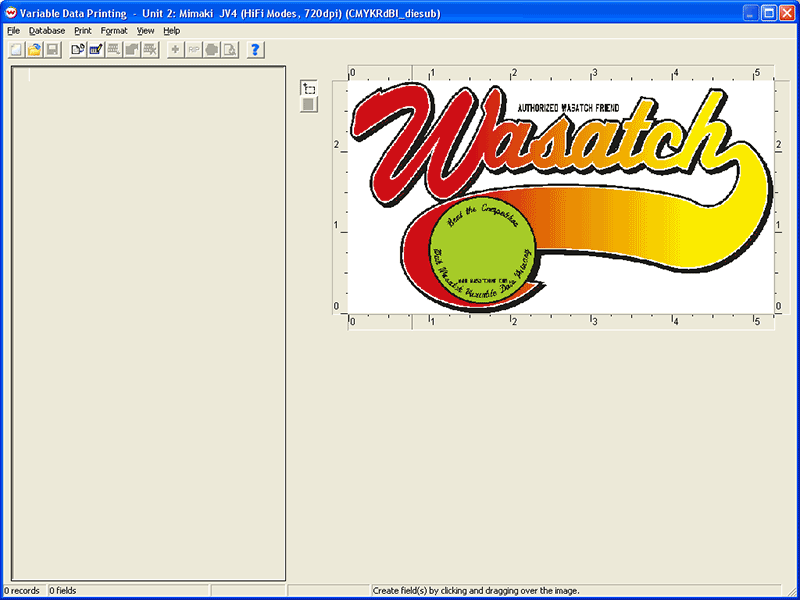
Figure 3: Variable Data Printing's Main Window
On the left is the database view, which is blank since we haven't imported or created any data yet, and on the right is the background image view. Begin by determining how you are going to enter your data. You can either import a database from another program, or create the data in Variable Data Printing.
Variable Data Printing can import data from a comma-delimited text file, of the type easily exported by all common office software.
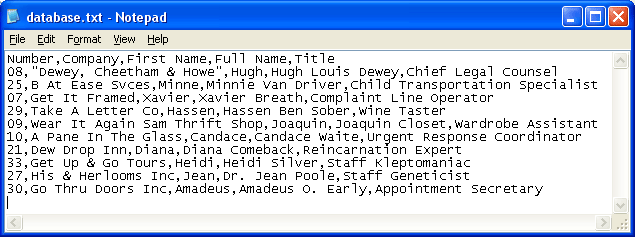
Figure 4: A sample comma-delimited text database
Notice this database has 3 fields (Surname, Number, Position), and 4 records (one for each player on this team). To import a database, click on Database, then Import Database. Select the database, and click on Open. Variable Data Printing will then import the data (which may take a while, if the database is large). The following message will then be displayed:

This is a reminder that the data just imported has not yet been associated with the background image. In order to do this, we'll need to create a bounding box for each field. The bounding box is the position where the variable text or image will be placed.
Creating a Database Using SoftRIP VDP
You can also create your database right inside the VDP window. This is particularly helpful if you are creating a database with sequential numeric values or a single value that you would like to have copied across a range of records. Begin creating your database by creating and naming fields (columns). After you have added all of your fields, you can then add your data records (rows). To avoid losing your work, we strongly recommend exporting your database to a file after you have finished entering data.
Adding Records
To add data records to your fields, click on Database, then Add Record. The
Add Record window will be
displayed. Type the text into the appropriate field and click OK to add the record to your database. You will then be asked if
you want to add another record. Click Yes to add another record, or click No to return to the VDP main screen.

Figure 5: The Add Record Window
You also can have your data generated automatically for some types of repetitive fields such as sequential numeric values and single values that you would like copied across a range of records (see Auto-Data Feature).
After importing or creating your database you may want to make modifications. You can edit any record in the database by double-clicking anywhere in the row of the data to be modified. This will launch the Edit Record window. Make the relevant modifications, and then click OK to update the database.

Figure 6: The Edit Record Window
You can delete records by right clicking on the record and choosing Delete the Selected Record(s).
Important: If you make changes to your database on this screen, those changes are not automatically saved to the file from which you imported the data. If you want to save these changes, you must export the database to a file.
Adding variable components to your background image is easy. After laying out your fields, you can easily modify field properties, alignment, spacing, and layering.
To lay out a field, create a bounding box by left clicking on the background image at the location you want to place your data. Hold down the left mouse button and drag the cursor to create the bounding box. As soon as you release the mouse button, the Data Field Properties window will launch. You then need to associate the box that we just created with a data field. To do this, click the down arrow next to the Field Name box and select the field name to which you would like the box you have drawn associated.
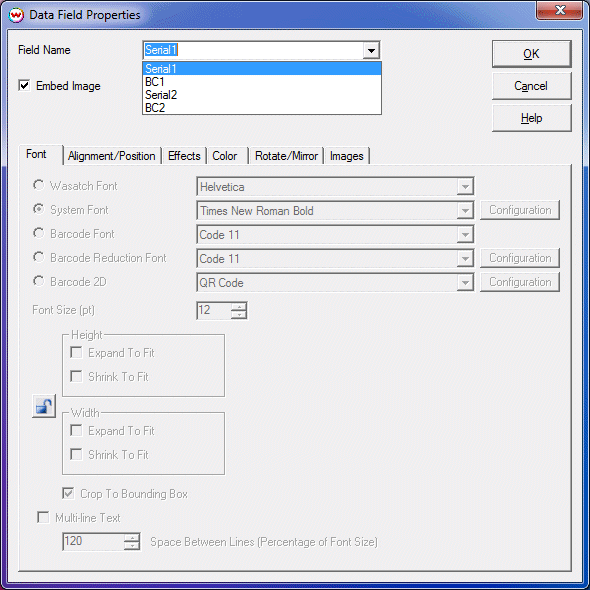
Figure 7: Associating a Bounding Box with a Field Name
After you have made the association, you can use the Data Field Properties window to apply stylistic effects to the data and bounding box. Select the properties you would like for this field, and click on OK. If the Embed Image check box is selected, then the text for each record in this field is interpreted to be a path to an image that will be placed in/on the background image. Otherwise, the text for each record is displayed as text using the font styles you choose in this window. Click here for more information on the Field Properties Window.
To complete your layout, create and associate bounding boxes for each field in your database. If you do not create a bounding box for a field, the data in that field will not be displayed in the finished print.
To make changes to any of the properties of a field, right-click on either the field header or the field's bounding box, then click on Edit the Properties of this Field to make the necessary changes.
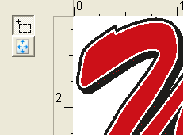
To move or resize any of the fields, you must click on the Select/Move tool instead of the Create Tool. With the Create Tool selected, you can create new bounding boxes (and fields). With the Select/Move tool, you can resize and reposition existing bounding boxes.
 |
 |
|
|
|
With the Select/Move tool active, you can select a single field by clicking on it, or multiple boxes by either clicking-and-dragging a box around the fields you would like to select or holding down Ctrl while clicking on boxes. The first box selected will have a solid red border, and each additional field will have a dashed red border. When any number of boxes are selected, you can click and drag them to any position.
Aligning and Distributing Fields
When multiple fields are selected, you can use tools on the Format menu. These tools are only active when more than one field is selected. Note that the undo option shown in this menu will only undo changes to the size or position of bounding boxes.
When you click on fields on the layout preview (in Select/Move mode) the outlines of the fields turn red to indicate they have been
selected. When selecting multiple fields, you will notice that the first field selected is given a solid border. This indicates that
this is the key field for all the formatting options shown below. Using the Format Menu you can:
You can also specify exact positions for bounding boxes on the Field Properties Window's Alignment Tab.
When two variable elements are placed on top of each other, the order that fields are placed in the database is significant. Fields are drawn onto the background image in the order shown in the database. The last field will always show up on top of each other field. If you would like to change the order of the fields in the database, click on Database, then Reorder Fields. The following screen will appear:
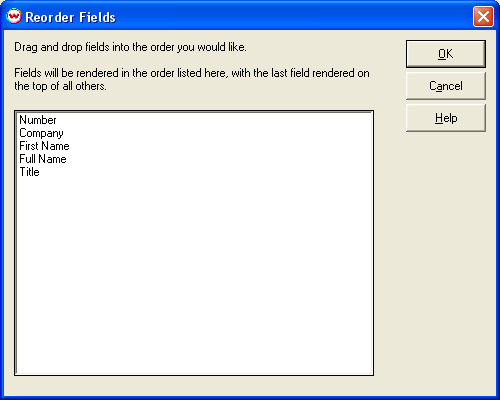
Reordering fields in the database
You can then proceed to drag-and-drop fields into the order you would like.
It is important to preview the output for several records before sending the job to the printer. Select a single record in the database by clicking on any of the records. Click on View from the menu bar, then select Preview. This will launch the PostScript Interpreter window while the preview is being created. When the Interpreter finishes you will see the preview for this record on the screen.
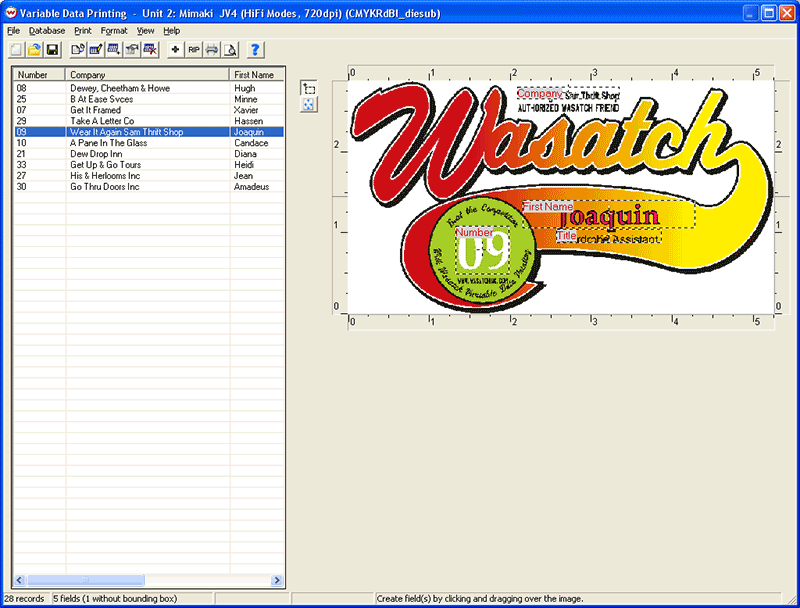
Figure 8: Variable Data Printing's Main Window with a Preview
The View Menu gives you different options for changing the appearance of the Variable Data Printing preview window. These include:
To quickly see which records have text that exceeds the size of the bounding box click on Database then Mark Items that Exceed Width/Height. When enabled, this option will draw a red box around any text that doesn't fit in the bounding box in which it will be drawn. (If Shrink To Fit is enabled for Width on the Field Properties Window, this will mark the text that will need to be shrunk to fit in the bounding box.)
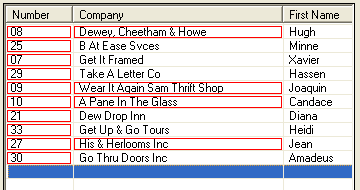
Figure 9: Shows what you see when "Mark Items that Exceed Width/Height"
is enabled and the corresponding text exceeds the bounding box.
Once you've set up your Variable Data Template the way you like it, click on File, then Save As. Choose a location and a new filename for this template, and click on Save. The template saves the field positions and their properties, but not the data. After the save operation has completed, you will see the following message pop up:
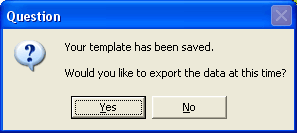
If you click No, your data will not be saved. If you click Yes, you will be asked for a location where to save your data. You can save your data as either a Microsoft Excel spreadsheet or a comma-delimited text file (comma-delimited text files can have either CSV or TXT as an extension). This can be accomplished by selecting the desired file type from the Save as type drop down box in the save window.
Note: If you have imported your data from Microsoft Excel, we recommend that you do not overwrite your original file, as no formatting will be retained.
Reusing Your Template
If you would like to use the same template with a different set of data, reopen the template. You can then import a different database (assuming the field names are the same).
If you change the size/rotation/mirroring of the background image, the relative positions of the bounding boxes in the templates to the background image will not be automatically changed. When you open a template onto a background image with a different size/rotation/mirroring, you will see the following screen:
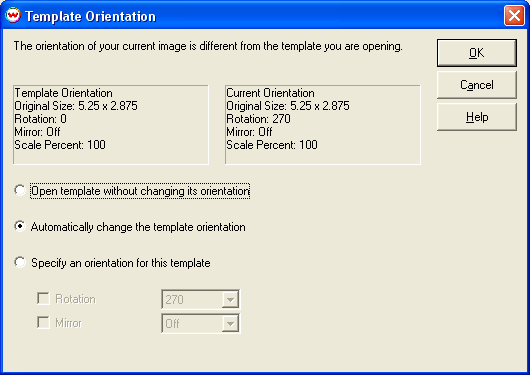
This window will attempt to orient the template to the changes made to the background file. You may still need to make small changes after the template is open. We strongly recommend previewing several records after opening this template to make sure your output will be to your liking.
Submitting your Variable Data Job into SoftRIP
When you're ready to send this job to a printer, click on Print, then either Add to RIP Queue, RIP Only, RIP and Print, or Fast Layout. You will then see the following dialog.
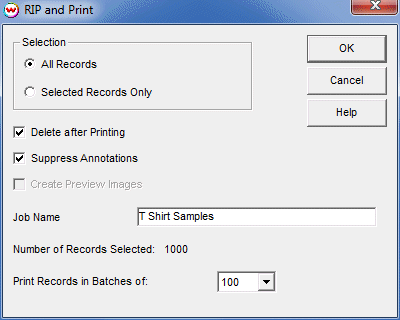
Figure 10: Print Options
Choose the options you want from this window, then click on OK. The jobs are sent for processing, creating a single job in the RIP Queue for each record that you selected to print or each batch of records. You are returned to the variable data window where you may then continue working or you may chose to exit the VDP window. More information on the Print Options Window.
Annotation Options
If annotation is enabled on the main Print/Setup window in Wasatch SoftRIP, you can specify additional annotation for this job. Clicking on Print, then Annotation. You can:
NOTE: Variable data jobs can be reprinted from the Print Queue or Archive only if they do not require re-ripping.